




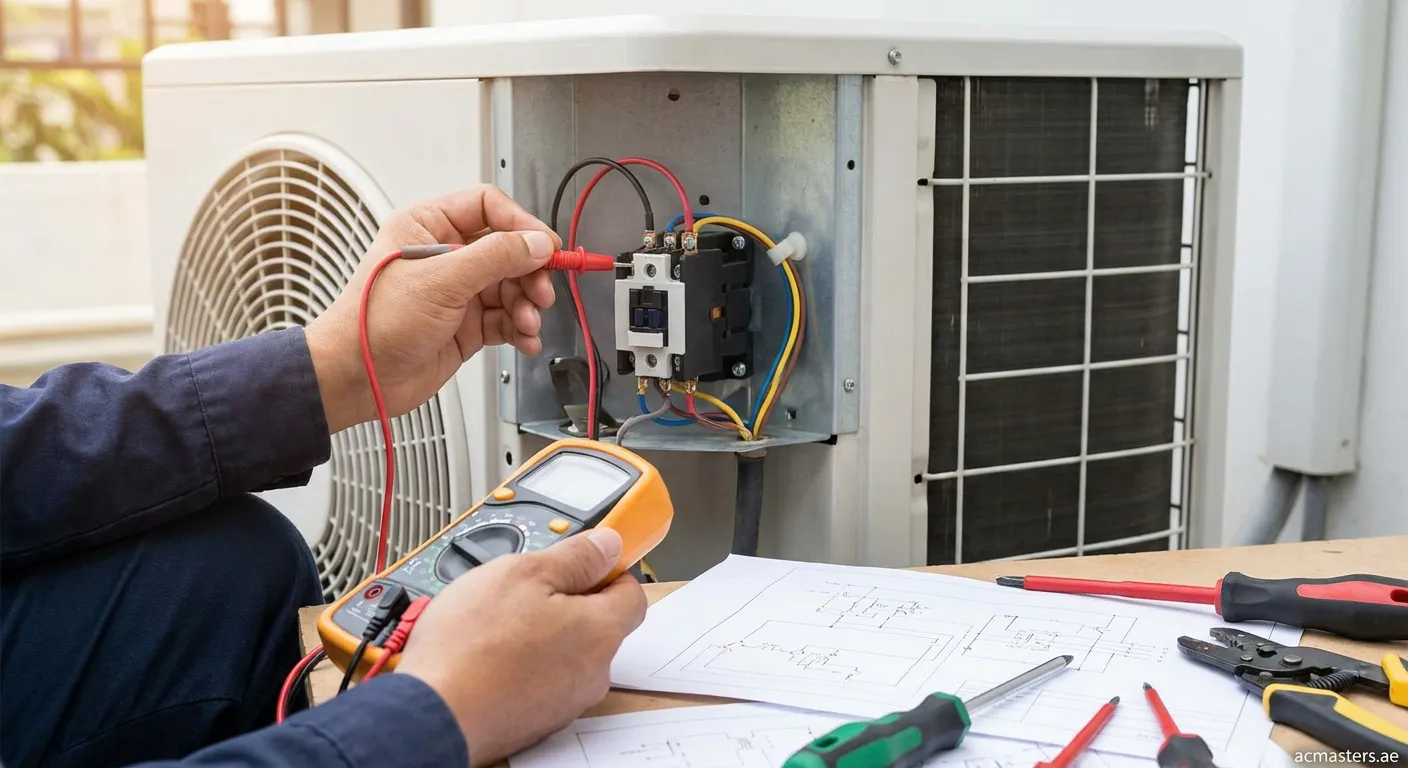
What is an AC Contactor Coil?
The AC contactor coil is an electromagnetic component that controls the flow of electricity to your air conditioner's compressor and fan motors. When energized, it creates a magnetic field that pulls contacts together, completing the circuit and allowing your AC to operate.
Why Testing Matters
A faulty contactor coil is one of the most common causes of AC failure. Testing the contactor coil regularly can save you from expensive repairs and ensure your system runs efficiently during hot Dubai summers.
Tools Needed for Testing
Before learning how to check AC contactor coil, gather these essential tools:
- Digital multimeter with continuity and resistance settings
- Insulated screwdrivers
- Safety gloves and goggles
- Non-contact voltage tester
- Flashlight for better visibility
Safety Precautions
⚠️ Critical safety steps before testing:
- Turn off power at the circuit breaker panel
- Verify power is off using a voltage tester
- Wait 5 minutes for capacitors to discharge
- Never touch electrical components with wet hands
- Work in a well-ventilated area
Step-by-Step Guide: How to Check AC Contactor Coil
Step 1: Locate the Contactor
Find the contactor inside your AC's outdoor unit. It's typically a rectangular component with multiple wires connected to it. The contactor coil terminals are usually marked as "coil" or have a separate connection point.
Step 2: Visual Inspection
Before electrical testing, perform a thorough visual check:
- Look for burnt or pitted contact points
- Check for melted plastic or discoloration
- Inspect wire connections for corrosion
- Examine the coil for visible damage
Step 3: Test Coil Resistance
- Set your multimeter to ohms (Ω) setting
- Place probes on the coil terminals (not the main contacts)
- Read the resistance value
Normal readings:
- Most contactor coils read between 10-30 ohms
- A reading of 0 ohms indicates a shorted coil
- OL (infinite) reading means an open/broken coil
Step 4: Check for Continuity
- Switch multimeter to continuity mode
- Touch probes to coil terminals
- A beep indicates continuity (good sign)
- No beep suggests a broken coil winding
Step 5: Test Contact Operation
Apply 24V to the coil terminals (if accessible) and observe:
- Contacts should pull in firmly
- You should hear a distinct clicking sound
- Contacts should release when power is removed
Common Signs of a Bad Contactor Coil
- AC won't turn on despite power being available
- Intermittent operation (works sometimes, fails other times)
- Clicking sounds without compressor starting
- High electricity bills due to inefficient operation
- Visible burning smell near the outdoor unit
When to Replace vs. Repair
| Condition | Action Needed |
|---|---|
| Open coil (no continuity) | Replace contactor |
| Shorted coil (0 ohms) | Replace contactor |
| Worn contacts only | Replace contactor |
| Minor corrosion on terminals | Clean and test again |
| Correct resistance but won't pull in | Replace contactor |