




Understanding High Density Filters
High density filters are crucial components in modern air conditioning systems. They capture smaller particles compared to standard filters, including dust, pollen, pet dander, and other airborne contaminants.
These filters typically have a higher MERV rating (Minimum Efficiency Reporting Value), meaning they trap more particles but also require more frequent cleaning.
Why Regular Cleaning Matters
Dirty filters reduce your AC's efficiency by 5-15%, according to the U.S. Department of Energy. A clogged high density filter restricts airflow, forcing your system to work harder and consume more energy.
Benefits of regular cleaning include:
- Lower energy bills and reduced operating costs
- Improved indoor air quality for your family
- Extended lifespan of your AC unit
- Better cooling performance during hot months
- Prevention of costly repairs
Step-by-Step: How to Clean the High Density Filter of Your AC
Step 1: Turn Off Your AC Unit
Safety first! Always turn off your air conditioning system at the thermostat and disconnect power at the circuit breaker before beginning any maintenance work.
Step 2: Locate and Access the Filter
Most residential AC units have filters located in:
- Return air ducts in walls or ceilings
- Air handler unit in utility closets or basements
- Behind return grilles in hallways or common areas
Remove the access panel or grille carefully using a screwdriver if needed.
Step 3: Remove the Filter Carefully
Slide the high density filter out gently. Note the airflow direction arrow printed on the filter frame—this is crucial for proper reinstallation.
Tip: Take a photo before removing the filter to remember its orientation and position.
Step 4: Initial Cleaning Methods
For Light Debris:
Use a soft brush or vacuum cleaner with a brush attachment to remove surface dust. Work gently to avoid damaging the filter material.
For Heavier Buildup:
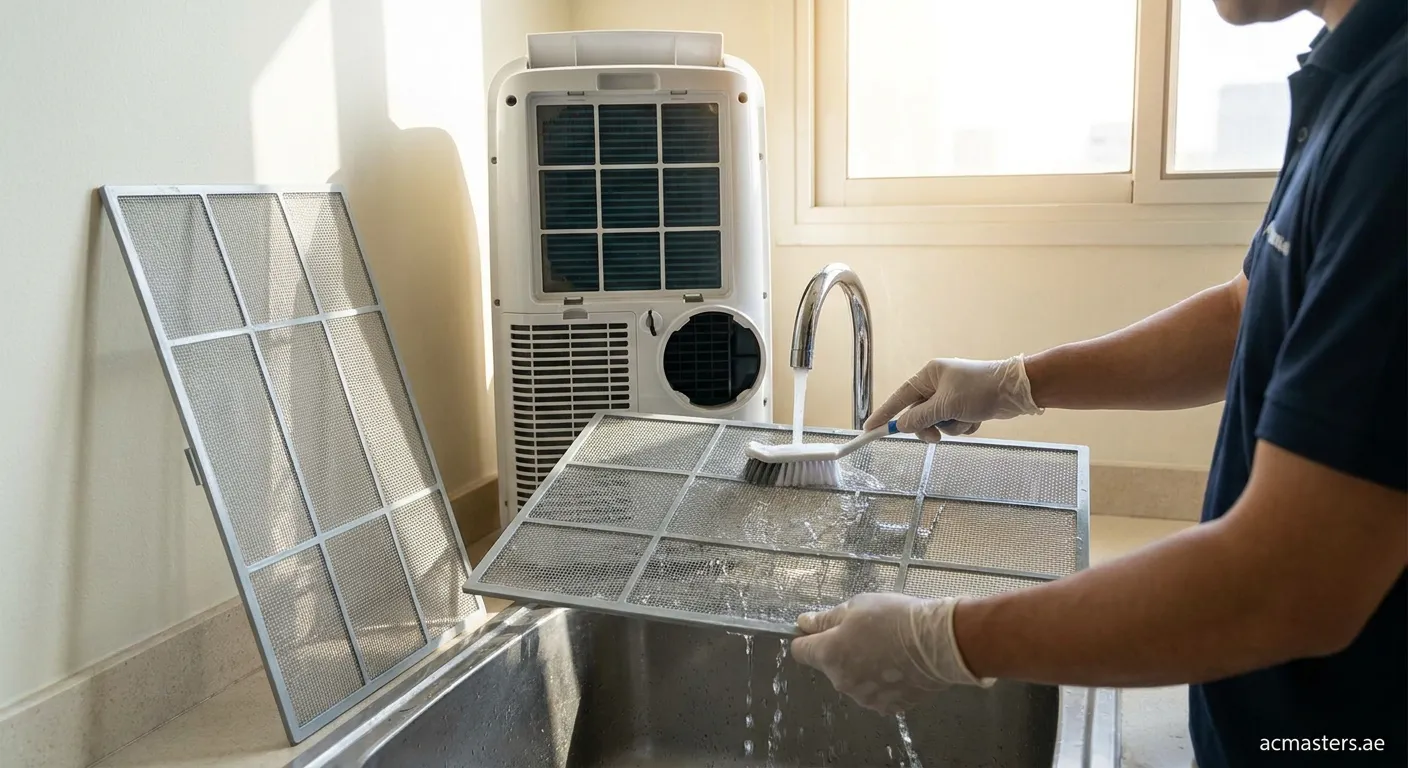
- Take the filter outside or to a utility sink
- Rinse thoroughly with lukewarm water
- Use mild dish soap if necessary for stubborn dirt
- Avoid high-pressure water that could damage filter fibers
- Rinse until water runs clear
Step 5: Proper Drying Process
Air-dry the filter completely before reinstalling—this typically takes 2-4 hours depending on humidity levels.
Never reinstall a damp filter, as this promotes mold growth and reduces filtering efficiency.
Step 6: Inspect for Damage While Cleaning
Check your filter for:
- Tears or holes in the filtering material
- Bent frames that prevent proper sealing
- Permanent discoloration indicating replacement need
- Excessive wear requiring professional assessment
Maintenance Schedule Recommendations
How often should you clean your high density filter?
| Household Type | Cleaning Frequency |
|---|---|
| No pets, low traffic | Every 90 days |
| One pet | Every 60 days |
| Multiple pets | Every 30-45 days |
| Allergies/Asthma | Monthly |
| High dust environment | Every 30 days |
When to Replace Instead of Clean
Even with proper cleaning, high density filters need replacement every 6-12 months depending on usage and environmental factors. Signs it's time for replacement:
- Visible damage to filter material despite careful handling during cleaning attempts.
- Persistent odors emanating from cleaned filters indicating deep contamination within fibers.
- Reduced airflow even after thorough cleaning sessions completed properly following manufacturer guidelines.