




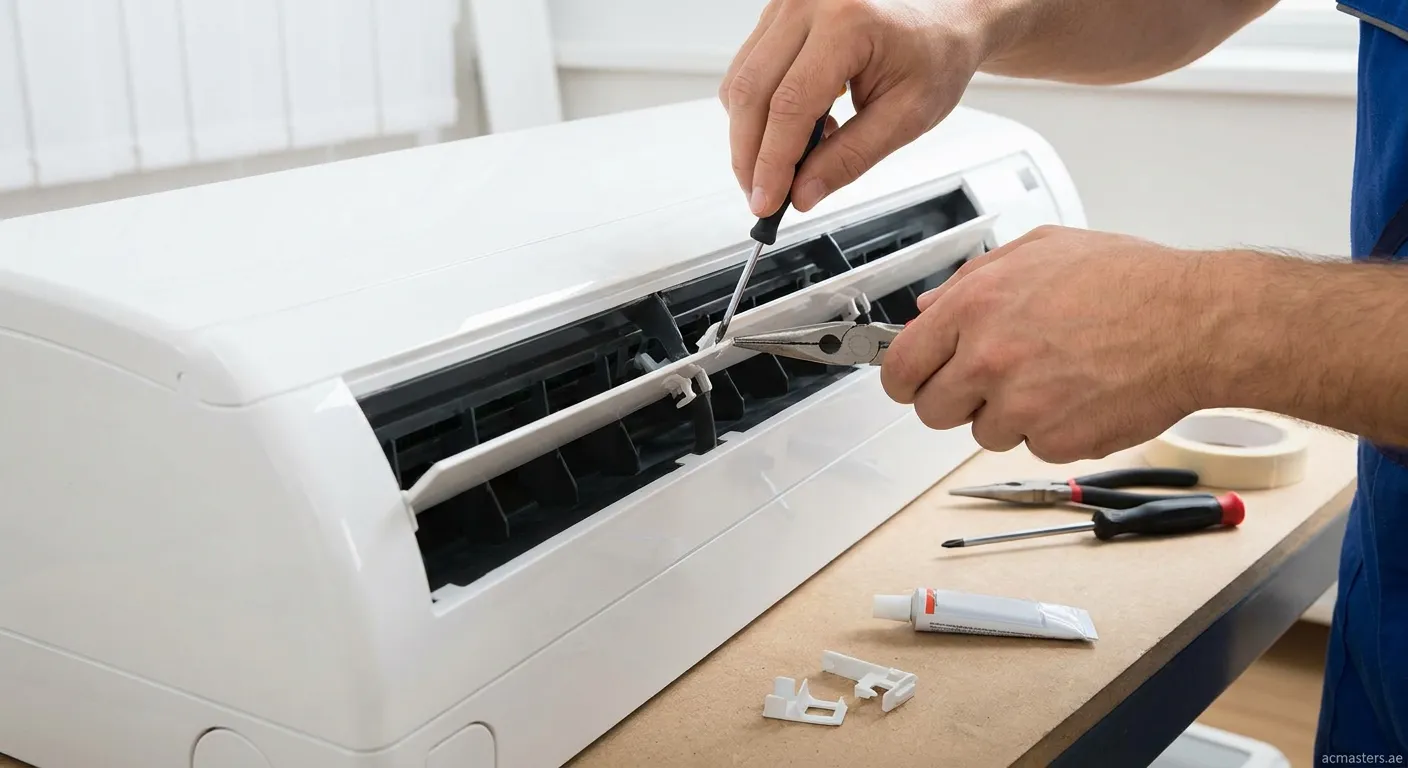
Understanding AC Louvers and Their Function
AC louvers are adjustable vent components that control airflow direction in your air conditioning system. These crucial parts ensure even cooling distribution throughout your space. When damaged, they significantly impact your AC's performance and energy efficiency.
What Causes Louver Damage?
Several factors contribute to louver damage:
- Physical impact from furniture or cleaning activities
- Plastic degradation due to UV exposure and aging
- Mechanical wear from frequent adjustments
- Improper installation or manufacturing defects
- Extreme temperature fluctuations causing material stress
Signs Your AC Louver Needs Repair
Recognizing early warning signs helps you address issues before they worsen:
- Uneven airflow distribution in your room
- Visible cracks or breaks in louver blades
- Difficulty adjusting the vent direction
- Unusual noises when the AC operates
- Increased energy bills due to reduced efficiency
How to Fix a Broken AC Louver: Step-by-Step Guide
Tools You'll Need
Before learning how to fix a broken AC louver, gather these essential tools:
- Screwdriver set (Phillips and flathead)
- Replacement louver blades
- Epoxy adhesive or plastic weld
- Sandpaper (fine grit)
- Cleaning supplies
- Safety gloves and glasses
Step 1: Assess the Damage
First, determine the extent of damage. Minor cracks may only need adhesive repair, while severely broken louvers require complete replacement.
Pro Tip: Always turn off your AC unit before attempting any repairs to ensure safety and prevent further damage.
Step 2: Remove the Damaged Louver
Carefully remove the vent cover by unscrewing it from the wall or ceiling. Gently extract the damaged louver assembly, noting how components fit together for reassembly.
Step 3: Repair or Replace
For minor cracks:
- Clean the damaged area thoroughly
- Apply epoxy adhesive to bond the crack
- Use tape to hold pieces while curing
- Allow 24 hours for complete setting
For severe damage:
- Purchase compatible replacement louvers
- Ensure correct size and model compatibility
- Install new blades following manufacturer instructions
Step 4: Reassemble and Test
After repair or replacement, reassemble all components carefully. Test the louver movement and airflow direction before securing the vent cover permanently.
When to Call a Professional
While understanding how to fix a broken AC louver is valuable, some situations require expert intervention:
- Multiple louvers damaged simultaneously
- Electrical components near the damaged area
- Recurring damage after DIY repairs
- AC unit under manufacturer warranty
- Complex ductwork configurations
Preventing Future Louver Damage
Regular Maintenance Tips
Extend your AC louver lifespan with these practices:
- Gentle cleaning using soft cloths
- Avoid forcing louver adjustments
- Schedule regular inspections twice yearly
- Keep vents unobstructed by furniture or curtains
- Apply UV protectant to plastic components
Seasonal Care
Before peak cooling seasons, inspect all louvers for wear signs. Address minor issues promptly to prevent escalation into major problems requiring costly repairs.