




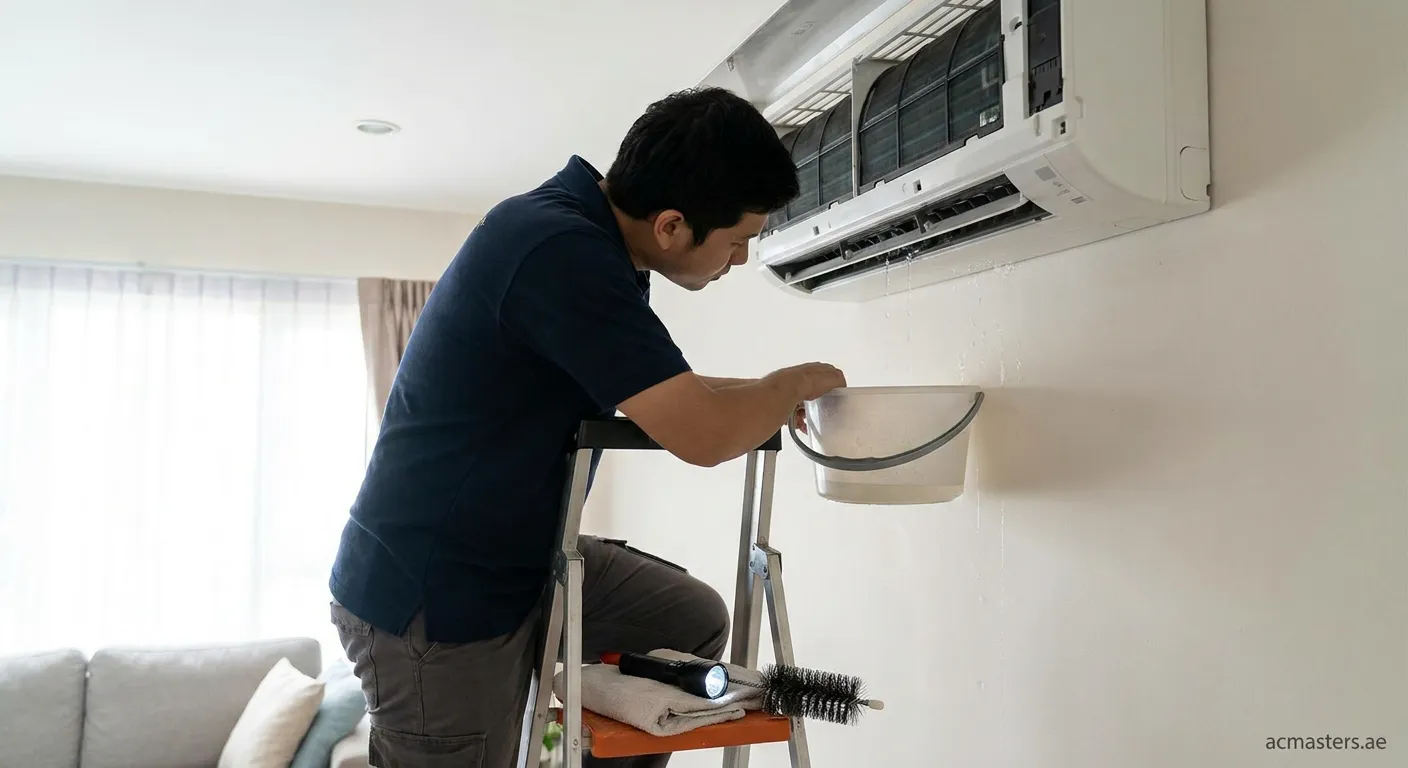
Common Causes of AC Indoor Unit Water Leaks
Understanding why your AC indoor unit is leaking water is the first step to fixing the problem. Several issues can cause this frustrating situation:
1. Clogged Condensate Drain Line
The most common culprit is a blocked drain line. Over time, dirt, dust, and algae build up inside the drain pipe, preventing proper water flow. When the line clogs, water backs up and overflows into your home.
2. Dirty Air Filters
Dirty air filters restrict airflow across the evaporator coils. This causes the coils to become too cold and freeze. When the ice melts, the excess water overwhelms the drain pan, leading to leaks.
3. Damaged or Rusted Drain Pan
Older units often have cracked or rusted drain pans. These pans collect condensation, but damage prevents proper drainage. Check your pan for visible cracks or corrosion.
4. Low Refrigerant Levels
Low refrigerant reduces pressure in the system, causing evaporator coils to freeze. As ice melts, water leaks from the indoor unit. You might also notice reduced cooling efficiency.
5. Improper Installation
Poor installation can cause the indoor unit to tilt incorrectly. The unit should slope slightly toward the drain line. An incorrect angle prevents proper drainage.
Step-by-Step Troubleshooting Guide
Learning how to troubleshoot AC indoor unit leaking water saves time and money. Follow these practical steps:
Step 1: Turn Off the Power
Safety first – always disconnect power before inspecting your AC unit. This prevents electrical hazards and protects the system from damage.
Step 2: Check the Air Filter
Locate your air filter and inspect its condition. If it appears dirty or clogged, replace it immediately. A clean filter ensures proper airflow and prevents coil freezing.
Step 3: Inspect the Condensate Drain Line
Find the drain line near your indoor unit. Look for:
- Visible clogs at the drain opening
- Water backing up in the line
- Algae or debris buildup
Use a wet/dry vacuum to suck out blockages from the drain line. Alternatively, pour a mixture of warm water and vinegar through the line to dissolve algae.
Step 4: Examine the Drain Pan
Check the drain pan beneath the evaporator coils. Look for:
- Cracks or holes in the pan
- Rust or corrosion
- Standing water
A damaged pan needs replacement. Temporary fixes with waterproof sealant work short-term, but replacement offers a permanent solution.
Step 5: Check Refrigerant Levels
Low refrigerant indicates a leak in the system. Signs include:
- Ice on evaporator coils
- Hissing sounds from the unit
- Reduced cooling capacity
Refrigerant issues require professional attention. Never attempt to recharge refrigerant yourself – improper handling can damage the compressor.
Step 6: Verify Unit Level
Use a level to check if the indoor unit sits properly. The unit should tilt 1/4 inch toward the drain outlet. Adjust mounting brackets if necessary.
Prevention Tips
Regular maintenance prevents most water leak issues:
- Replace air filters every 1-3 months
- Schedule annual professional maintenance
- Keep the area around the indoor unit clean
- Install a float switch to shut off the system when water levels rise
- Pour vinegar through the drain line monthly to prevent algae growth
Pro Tip: Install a safety float switch in the drain pan. This device automatically shuts off your AC when water levels get too high, preventing overflow and water damage.
When to Call a Professional
Some troubleshooting steps require expertise. Contact a licensed HVAC technician if:
- You suspect refrigerant leaks
- The drain line remains clogged after clearing attempts
- You notice electrical issues or strange noises
- Water damage has occurred to walls or ceilings
- The unit needs releveling or mounting adjustment