




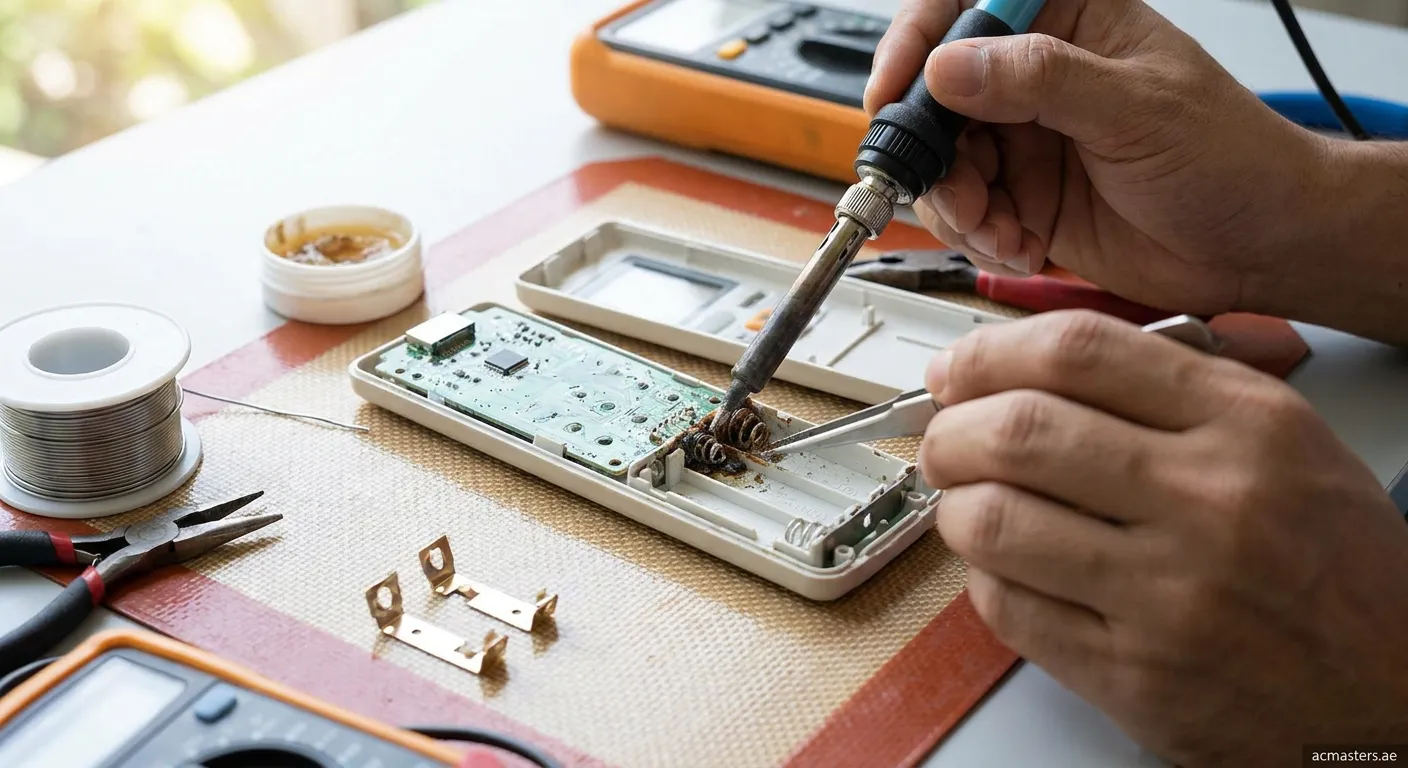
Why Battery Terminals Break
Battery terminals in AC remotes break for several common reasons. Battery leaks cause corrosion that weakens metal contacts. Frequent battery changes can bend or damage the terminals. Sometimes, manufacturing defects create fragile connections.
Signs of a Broken Terminal
- Remote works intermittently
- Batteries feel loose in the compartment
- Visible corrosion or rust on contacts
- Remote only works when you press batteries down
- Fresh batteries don't solve the problem
Tools You'll Need
Before learning how to fix a broken AC remote battery terminal, gather these essential tools:
- Small screwdriver set (Phillips and flathead)
- Fine sandpaper or emery board (400-600 grit)
- Isopropyl alcohol and cotton swabs
- Soldering iron (15-30W) and solder
- Wire (solid copper, 18-22 gauge)
- Electrical tape or heat shrink tubing
- Multimeter for testing connections
Step-by-Step Repair Process
Step 1: Open the Remote
Remove screws from the battery compartment. Some remotes have hidden clips – gently pry the case open with a flathead screwdriver. Take a photo before disconnecting anything.
Step 2: Assess the Damage
Examine the battery terminal carefully. Determine if it's:
- Corroded but intact
- Bent out of shape
- Completely broken off
- Loose from the circuit board
Step 3: Clean Corroded Terminals
For minor corrosion, soak a cotton swab in isopropyl alcohol. Gently scrub the affected area until clean. Use fine sandpaper to remove stubborn residue. Ensure all white or green deposits are gone.
Step 4: Reshape Bent Terminals
If the terminal is bent, carefully use needle-nose pliers to straighten it. Work slowly to avoid snapping the metal. The terminal should make firm contact with the battery.
Step 5: Solder a New Connection
When the terminal is broken off, you'll need to create a new connection:
- Strip 1cm of insulation from a copper wire
- Clean the contact pad on the circuit board
- Apply flux to both surfaces
- Solder one end of the wire to the board
- Shape the other end into a battery contact spring
- Secure with electrical tape
Step 6: Reassemble and Test
Put fresh batteries in the repaired compartment. Test all remote functions. If buttons respond correctly, your repair was successful.