




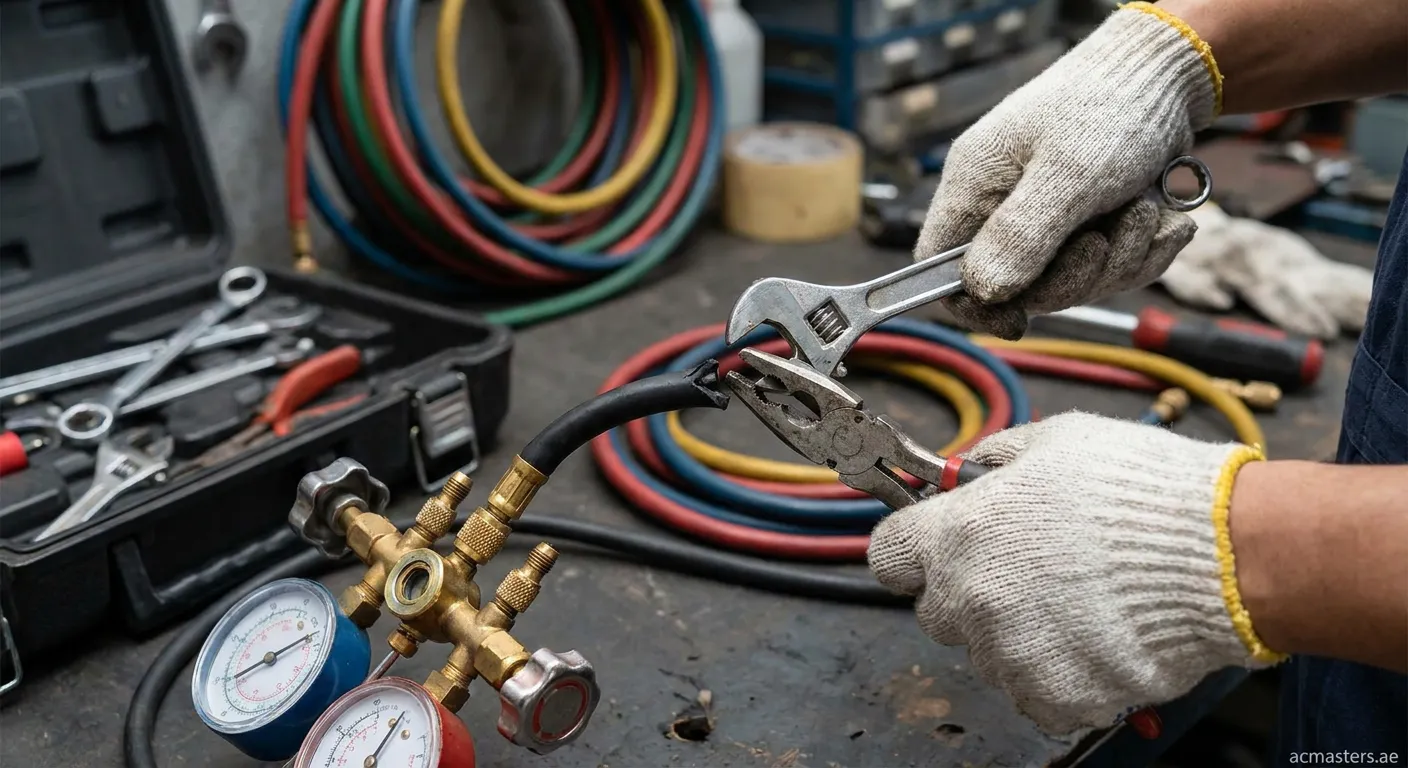
Gauge hoses are critical components in HVAC systems that connect pressure gauges to refrigerant lines and other equipment. When these hoses develop leaks or cracks, accurate readings become impossible, potentially leading to improper system diagnostics.
Identifying Damage on Your Gauge Hose
Before learning how to fix a broken gauge hose, you must locate the damage:
- Check fittings: Look for cracks near brass connectors
- Inspect kinked sections: Flexible areas often develop weak points
- Examine entire length: Run your fingers along the hose to find bulges
- Test for leaks: Pressurize safely and use soapy water
Common causes include UV exposure, chemical degradation from refrigerants, physical stress from repeated coiling, and age-related deterioration.
Essential Tools for Repair
Gather these supplies before starting:
- Replacement hose (matching size and pressure rating)
- Brass fittings and ferrules
- Crimping tool or swaging pliers
- Tube cutter
- Leak detector solution
- Safety glasses and gloves
Step-by-Step Repair Process
Safety First
Always depressurize systems completely before working on gauge hoses. Residual pressure can cause serious injury.
Removing Damaged Sections
Cut away compromised portions using a tube cutter for clean edges. Remove at least one inch beyond visible damage.
Installing New Fittings
Insert new brass fittings into fresh hose ends. Apply ferrules and crimp securely using appropriate pressure.
Testing Your Repair
Reconnect the repaired gauge hose and pressurize slowly. Apply leak detector solution at connections and watch for bubbles indicating leaks.
When Replacement Is Better Than Repair
Some situations warrant complete replacement:
- Multiple damage locations
- Inner lining deterioration
- Hose exceeds five years old
- Pressure rating compromised
Quality replacement hoses typically cost $15-$50 depending on specifications.