




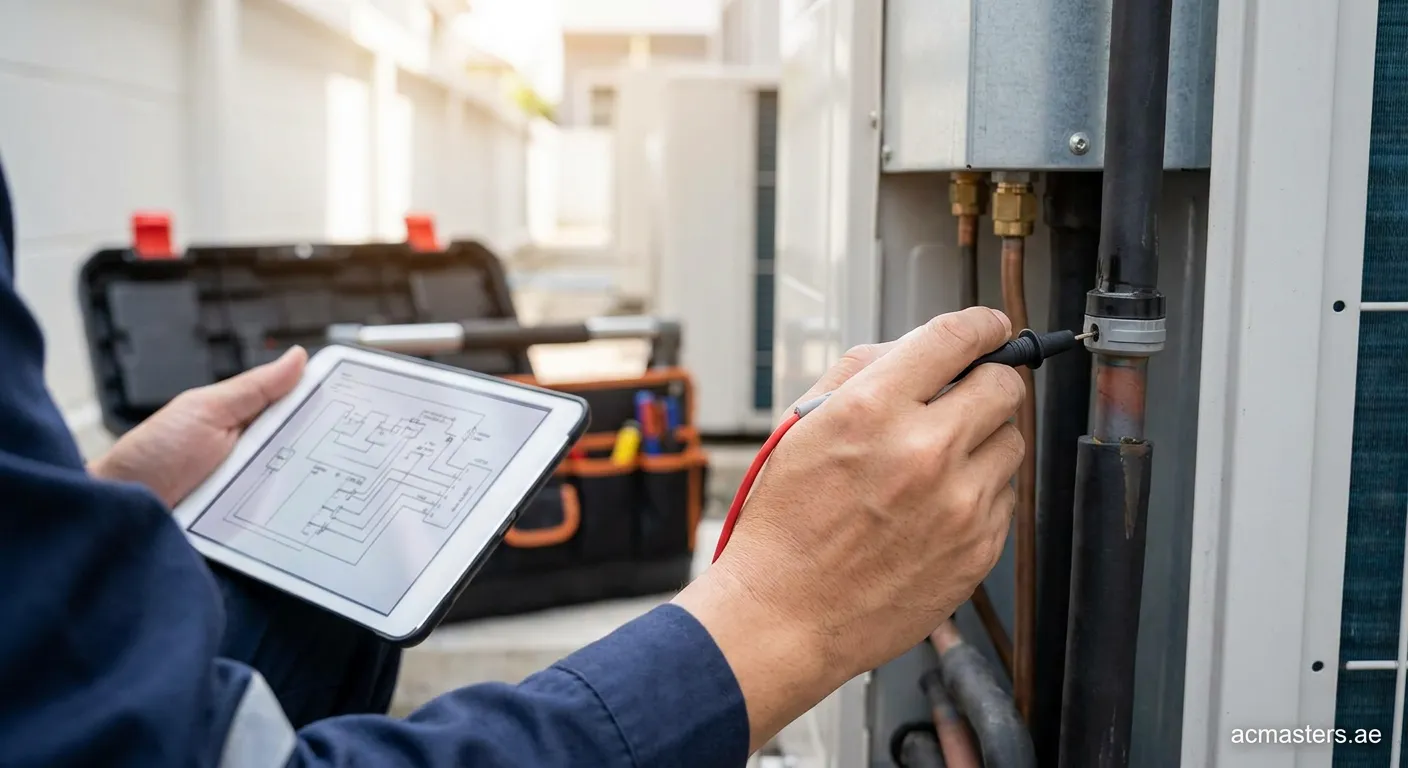
What is an AC Discharge Sensor?
An AC discharge sensor is a critical component in your air conditioning system that monitors the temperature of the refrigerant leaving the compressor. When this sensor malfunctions, it can cause your entire HVAC system to operate inefficiently or shut down completely.
Common Symptoms of a Bad Discharge Sensor
Recognizing the signs early can prevent costly repairs:
- Erratic temperature fluctuations in your home
- Frequent system shutdowns without clear cause
- Error codes displayed on your thermostat
- Higher energy bills due to inefficient operation
- Compressor overheating warnings
- Inconsistent cooling performance
Step-by-Step Guide: How to Troubleshoot a Bad AC Discharge Sensor
Step 1: Turn Off Power
Before attempting any diagnostics, ensure safety by turning off power to your AC unit at both the thermostat and circuit breaker.
Step 2: Locate the Sensor
The discharge temperature sensor is typically located near the compressor outlet line. Consult your unit's manual for exact placement.
Step 3: Visual Inspection
Check for:
- Physical damage to wiring
- Corroded connections
- Loose or disconnected wires
- Burn marks or melting insulation
Step 4: Test Resistance Values
Using a multimeter:
- Set meter to ohms (Ω)
- Disconnect sensor wires
- Measure resistance across terminals
- Compare readings to manufacturer specifications (typically 5K-15K ohms at room temperature)
Important: A reading of zero indicates a short circuit, while infinite resistance means an open circuit—both signal a faulty sensor.
Step 5: Check Wiring Connections
Inspect all wiring harnesses connecting the sensor to the control board:
- Tighten loose connections
- Replace damaged wires
- Clean corroded terminals with electrical contact cleaner
When to Replace Your Discharge Sensor
Replace the sensor if:
- Resistance values fall outside acceptable range
- Visual inspection reveals damage
- Error codes persist after resetting system
- Sensor fails continuity tests
Preventive Maintenance Tips
Extend your sensor's lifespan by:
- Scheduling annual professional inspections
- Keeping condenser coils clean
- Ensuring proper refrigerant levels
- Monitoring system performance regularly