




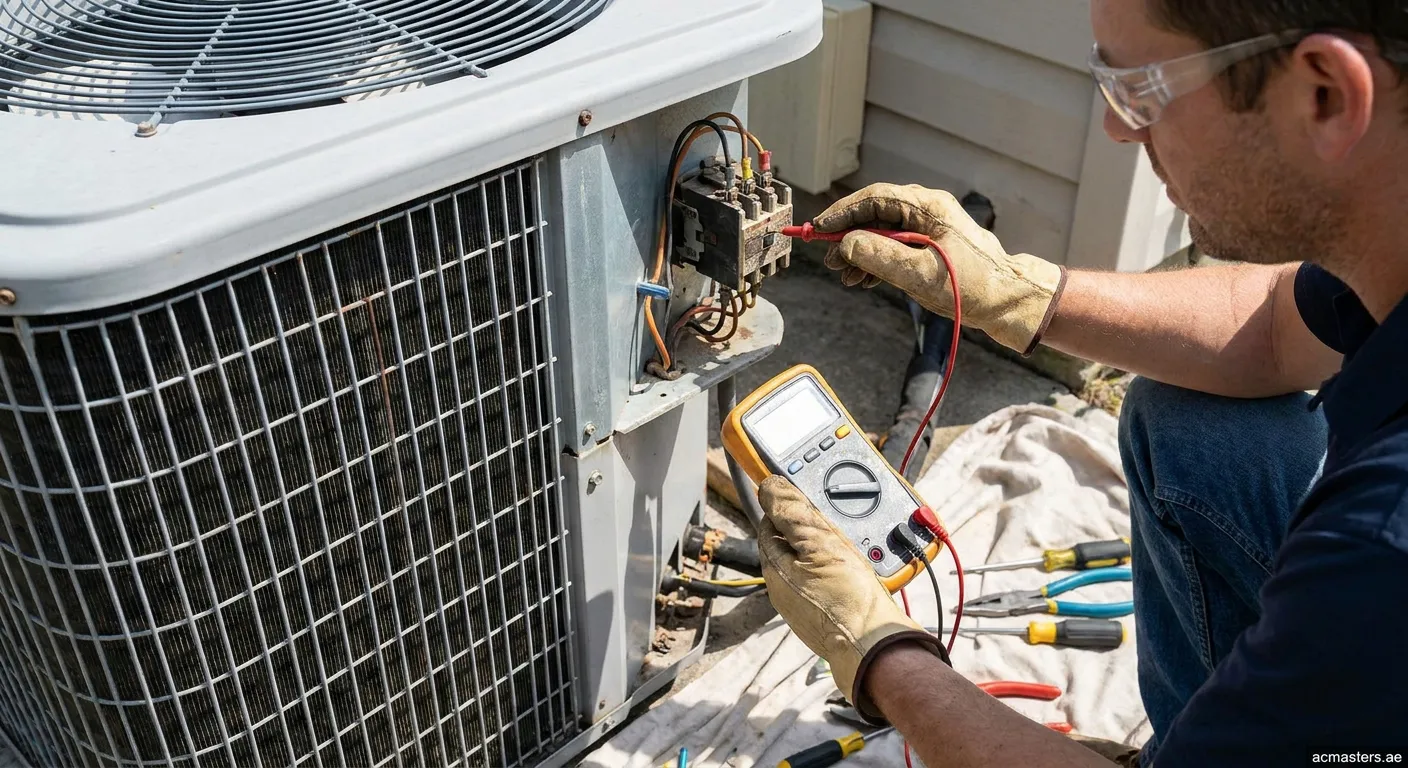
An air conditioner contactor is an electromechanical switch that controls the high-voltage electrical flow to your compressor and condenser fan motor. When this component degrades, your cooling system will fail to activate or run continuously without cycling off. Knowing how to troubleshoot a bad AC contactor can save you from costly compressor burnouts and prolonged system downtime.
Common Symptoms of a Defective Contactor
Recognizing the early warning signs of electrical failure is vital before beginning hands-on diagnostics:
- Humming or Buzzing Noises: A loud hum from the outdoor condensing unit often indicates the internal electromagnetic coil is receiving voltage but the plunger cannot seat properly.
- Continuous Operation: If the electrical contacts weld together due to electrical arcing, the outdoor unit will run non-stop, even if the thermostat is switched off.
- Clicking Without Starting: The thermostat sends a 24V call for cooling, but the contactor fails to close the high-voltage circuit.
- Burnt Plastic Smell or Pitting: Visual burn marks or melted casing around the terminal block point directly to electrical overheating.
Safety First: Essential Preparation
Working with HVAC electrical circuits carries severe shock hazards. Always prioritize safety:
- Turn off the main breaker supplying power to the outdoor condensing unit.
- Disconnect the outdoor service disconnect switch near the unit.
- Use a verified digital multimeter to confirm that zero voltage is present across all incoming terminals.
- Discharge the dual-run capacitor using an insulated screwdriver across the terminals to avoid residual electrical shock.
Step-by-Step Diagnostic Procedures
Follow these targeted steps when mastering how to troubleshoot a bad AC contactor effectively:
1. Visual Inspection
Inspect the contact points for carbon buildup, pitting, or burnt discoloration. Insects such as ants are frequently attracted to electromagnetic fields and can wedge between contact points, blocking the electrical path.
2. Testing the Low-Voltage Coil
Set your multimeter to measure resistance (Ohms). Disconnect the low-voltage wires connected to the sides of the contactor coil. Place the meter probes across the coil terminals:
- A healthy 24V coil typically reads between 10 to 20 Ohms.
- A reading of 0 Ohms indicates a shorted coil, while infinite resistance (OL) means an open coil that requires immediate replacement.
3. Checking Voltage Under Load
Restore power with caution if you are qualified. Measure the low-voltage input across the coil while the thermostat calls for cooling. If you measure 24V but the plunger does not pull in mechanically, the contactor mechanism is faulty.
Pro Tip: Never attempt to file or sand down pitted contactor points. The protective silver plating is already worn away, and pitted contacts will weld shut rapidly under load.
Repair or Replace?
Contactors are inexpensive components compared to compressors. If you find pitted contacts, low coil resistance, or burnt terminals during your diagnosis, installing a replacement contactor with matching voltage and full load amp (FLA) ratings is the safest solution.