Common Signs of a Failing AC Circuit Board
Understanding how to troubleshoot a bad AC circuit board starts with recognizing the warning signs. The control board acts as your air conditioner's brain, coordinating all operations.
Primary Symptoms
Watch for these indicators:
- Inconsistent cooling cycles or complete system failure
- Fan and compressor refusing to start despite power
- Blank or flickering display panels
- Unusual clicking sounds from the unit
- Burning smell near the control panel
Step-by-Step Troubleshooting Process
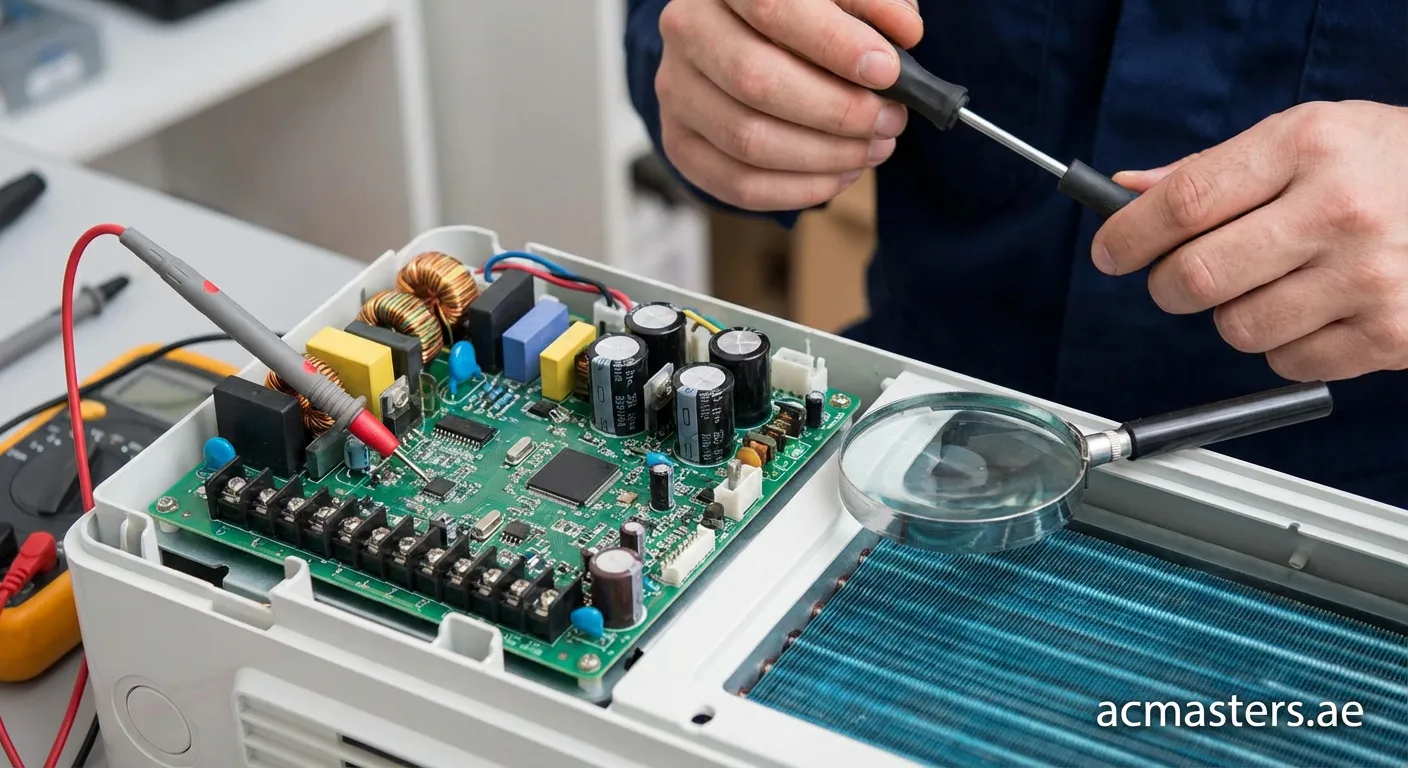
1. Visual Inspection
Before attempting advanced diagnostics:
- Turn off all power to the unit
- Remove the access panel carefully
- Look for obvious damage signs:
- Burn marks on the circuit board
- Bulging or leaking capacitors
- Corroded or loose connections
- Physical cracks in the board
2. Check Power Supply
Verifying power flow is essential when learning how to troubleshoot a bad AC circuit board:
- Use a multimeter to test incoming voltage
- Confirm proper voltage at transformer outputs (typically 24V)
- Check all fuses on the board
- Inspect wiring connections for security
3. Test Individual Components
Fuse Testing
A blown fuse is often the culprit:
- Set multimeter to continuity mode
- Place probes on both fuse ends
- No continuity indicates a blown fuse
- Replace with exact amperage rating
Relay Examination
Faulty relays prevent proper component activation:
- Listen for audible clicks during operation attempts
- Test coil resistance with multimeter
- Replace if readings fall outside specifications
Capacitor Inspection
Look for:
- Dome-shaped tops indicating failure
- Leaking fluid underneath
- Cracks in casing
- Swelling at bottom seals