What Are AC Sensors and Why Check Resistance?
Air conditioning systems rely on multiple sensors to monitor temperature, pressure, and other critical parameters. These sensors work by changing their electrical resistance based on environmental conditions. How to check AC sensor resistance value correctly determines whether a sensor is functioning properly or needs replacement.
Common AC sensors include:
- Temperature sensors (thermistors) - monitor ambient and coil temperatures
- Pressure sensors - ensure safe operating conditions
- Humidity sensors - control dehumidification processes
Each sensor type has specific resistance ranges that indicate normal operation. Deviations from these values signal potential problems.
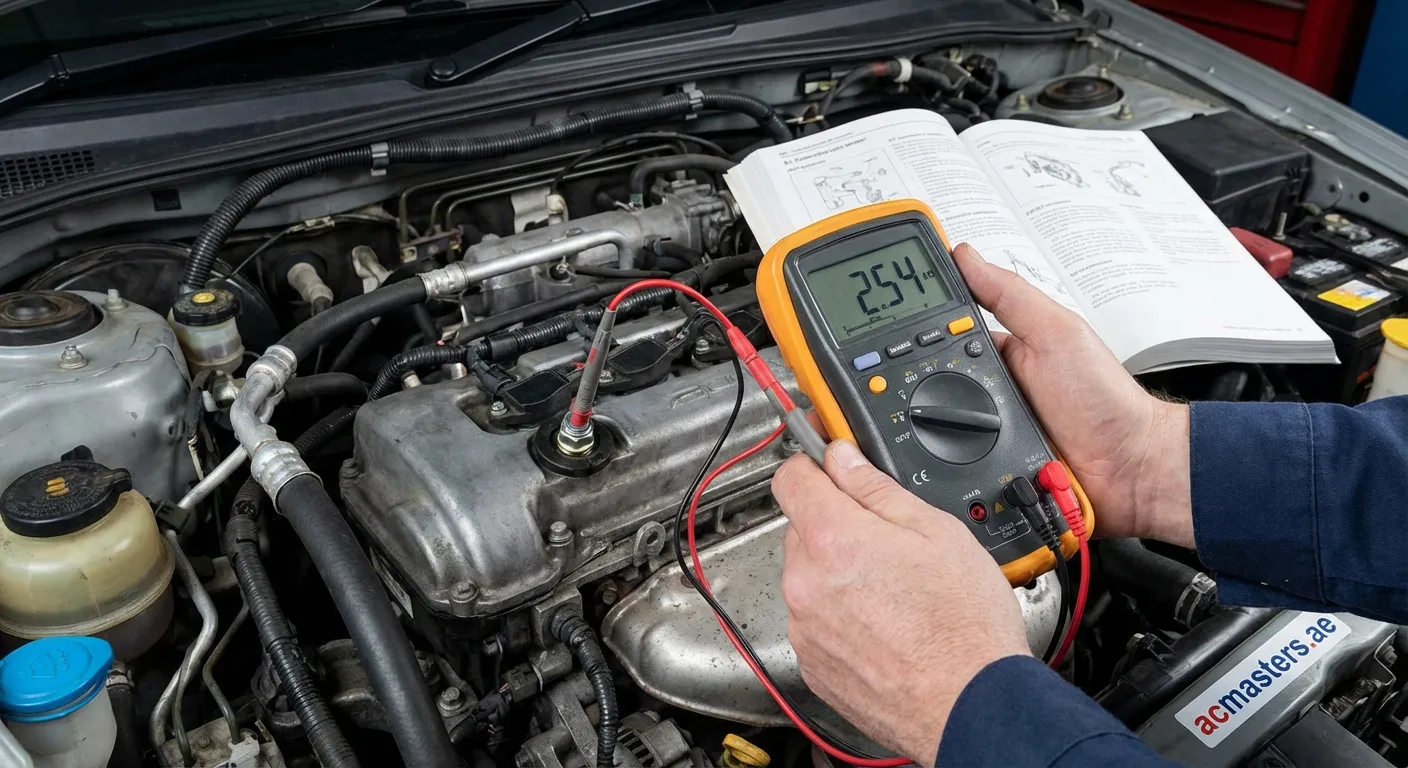
Tools Required for Testing
Before learning how to check AC sensor resistance value, gather these essential tools:
- Digital multimeter with resistance (ohm) measurement capability
- Service manual for your specific AC unit
- Insulated screwdrivers for accessing sensor connections
- Safety gloves and protective eyewear
- Reference charts showing normal resistance values
A quality multimeter with auto-ranging capabilities makes the process easier and more accurate.
Step-by-Step Guide: How to Check AC Sensor Resistance Value
Step 1: Power Down the System
Safety comes first. Turn off the AC unit at the thermostat and disconnect power at the circuit breaker. Wait 5-10 minutes for capacitors to discharge completely.
Step 2: Locate the Sensors
Find the sensors you need to test. Temperature sensors are typically located:
- On the evaporator coil
- In the return air duct
- Near the condenser coil
- Inside the indoor unit housing
Step 3: Disconnect the Sensor
Carefully unplug the sensor connector from the control board. This ensures you measure only the sensor's resistance without interference from other components.
Step 4: Set Up Your Multimeter
Set your multimeter to measure resistance (ohms/Ω). Start with the highest range and decrease as needed for better precision. Some meters auto-range automatically.
Step 5: Measure Resistance
Connect the multimeter probes to the sensor terminals. Polarity doesn't matter for resistance measurements. Record the displayed value.
Step 6: Compare with Specifications
Consult your AC unit's service manual for acceptable resistance ranges. Typical values at room temperature (25°C/77°F) include:
| Sensor Type | Normal Range |
|---|---|
| Room temp sensor | 5-15 kΩ |
| Coil sensor | 10-30 kΩ |
| Discharge temp | 1-5 kΩ |
Interpreting Results
When you know how to check AC sensor resistance value, interpreting results becomes straightforward:
- Within range: Sensor likely functions correctly
- Open circuit (OL): Broken sensor, replace immediately
- Zero resistance: Shorted sensor, requires replacement
- Out of range: Sensor degraded, consider replacement
Temperature sensors (thermistors) should show smooth resistance changes when warmed or cooled. Erratic readings indicate internal damage.
Common Issues and Solutions
Issue 1: Erratic Resistance Readings
Possible causes include:
- Loose or corroded connections
- Damaged wiring insulation
- Contaminated sensor element
Clean connections and retest. If problems persist, replace the sensor.
Issue 2: Readings Out of Range
High resistance often means the sensor has degraded with age. Low resistance might indicate moisture intrusion. Both conditions require sensor replacement.
Issue 3: Intermittent Failures
Some sensors fail only under specific conditions. Test at various temperatures to identify intermittent problems that might not appear during basic testing.
Safety Precautions
Always follow these safety guidelines when performing AC sensor resistance checks:
- Never test live circuits - Always disconnect power
- Discharge capacitors before working near them
- Use insulated tools to prevent accidental shorts
- Work in well-ventilated areas when accessing internal components
- Document your readings for future reference and troubleshooting
When to Call a Professional
While learning how to check AC sensor resistance value empowers DIY troubleshooting, some situations require professional expertise:
- Complex multi-sensor diagnostics
- Refrigerant system problems
- Electrical control board issues
- Warranty-covered repairs
- Uncertainty about safe procedures
Professional technicians have specialized equipment and training to diagnose complex AC problems efficiently.