



How to troubleshoot a thermostat wiring issue begins with understanding your heating and cooling system.
Understanding Thermostat Wiring Basics
Your thermostat communicates with your HVAC system through low-voltage wires carrying 24V AC power.
Wire Color Codes:
- Red (R) – Power (24V)
- White (W) – Heating
- Yellow (Y) – Cooling
- Green (G) – Fan
- Blue/C (C) – Common wire
Knowing these colors helps you identify problems quickly.
Step-by-Step Troubleshooting Process
Step 1: Check Power Supply
First, verify your HVAC system receives power:
- Locate your breaker panel
- Ensure the HVAC breaker is ON
- Check the furnace switch is enabled
- Inspect the transformer output
If power reaches the transformer but not your thermostat, you may need to learn how to troubleshoot a thermostat wiring issue along the wire path.
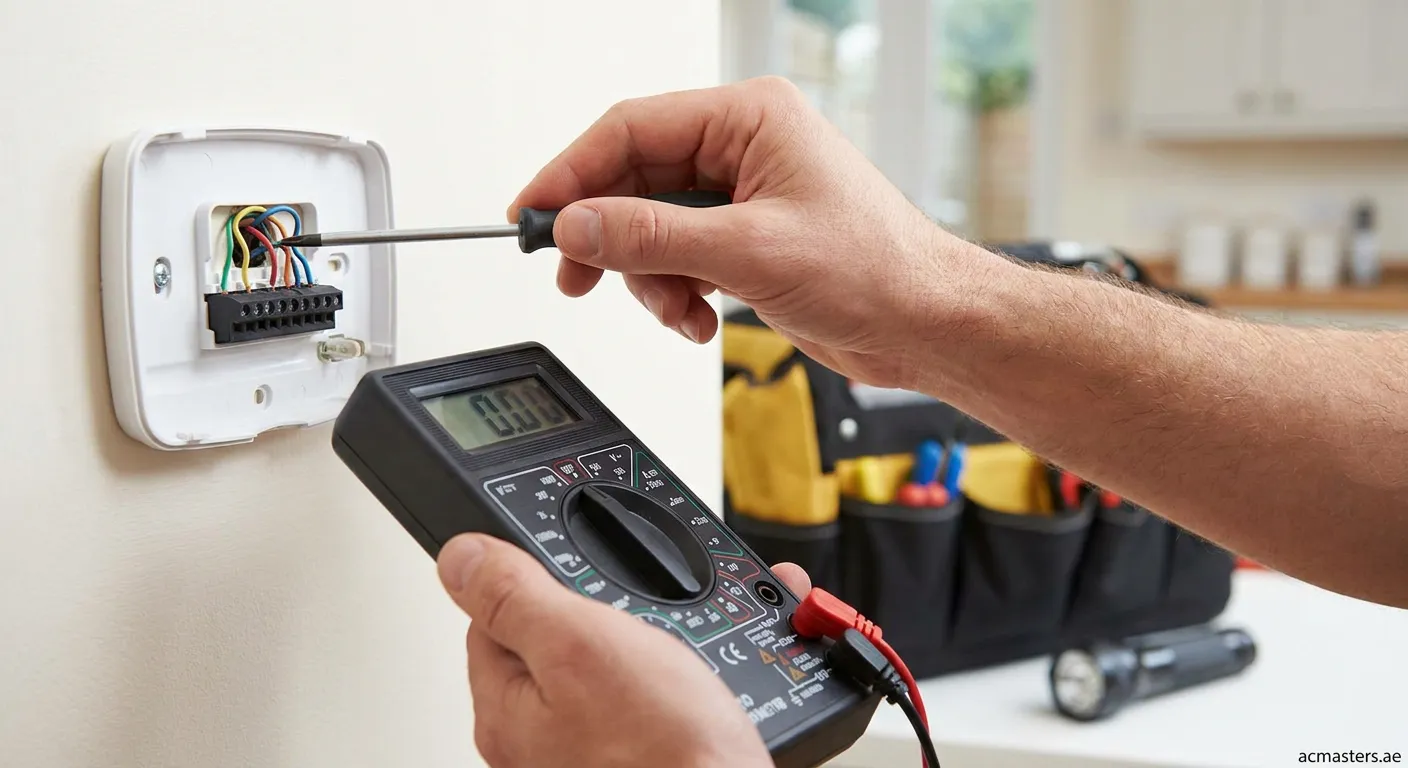
Step 2: Inspect Wiring Connections
Loose connections cause most thermostat failures:
- Turn off power before inspecting
- Remove the thermostat faceplate
- Examine terminal screws
- Look for corroded or frayed wires
- Tighten any loose connections
"Most thermostat problems stem from loose connections at terminals." – HVAC Professional
Step 3: Test Wire Continuity
Use a multimeter to check each wire:
- Set multimeter to continuity mode
- Touch probes to wire ends
- A beep indicates good connection
- No beep means broken wire
How to troubleshoot a thermostat wiring issue effectively requires checking each wire individually between the thermostat and air handler.
Common Wiring Problems
| Problem | Symptoms | Solution |
|---|---|---|
| Broken wire | No display | Replace wire |
| Loose connection | Intermittent operation | Tighten terminals |
| Wrong terminal | System won't respond | Check manufacturer diagram |
| Missing C-wire | Wi-Fi dropout | Add C-wire adapter |
Safety Precautions
Always follow these safety rules:
- Turn off all power before working on wires
- Never touch exposed wires with wet hands
- Use insulated tools designed for electrical work
- Wear safety glasses when cutting wires